9 March 2025
When you're traveling, one of the most magical times to take photographs is during the golden hour. Have you ever looked at a photo and thought, "Wow, the lighting is just perfect!"? Well, chances are, that photo was taken during the golden hour. So, what exactly is this wonderful moment and how can you make the most of it while you're out exploring the world? Let's dive in, break down the technical stuff, and get into how you can truly capture the beauty of golden hour photos during your adventures.
What is the Golden Hour?
Before we get into the nitty-gritty of taking incredible photos, let's talk about what the golden hour actually is. Essentially, the golden hour is the time shortly after sunrise and just before sunset when the sun sits low in the sky, casting a warm, soft, golden light. Unlike midday sunlight, which can be harsh and unforgiving, the light during the golden hour is diffused and flattering—perfect for photography.The exact timing of the golden hour varies depending on your location and the time of year. Apps like Golden Hour One or the Weather Underground app can help determine when the golden hour will occur at your destination. Pro-tip: Always check the local sunrise and sunset times before heading out with your camera. That way, you’ll be ready!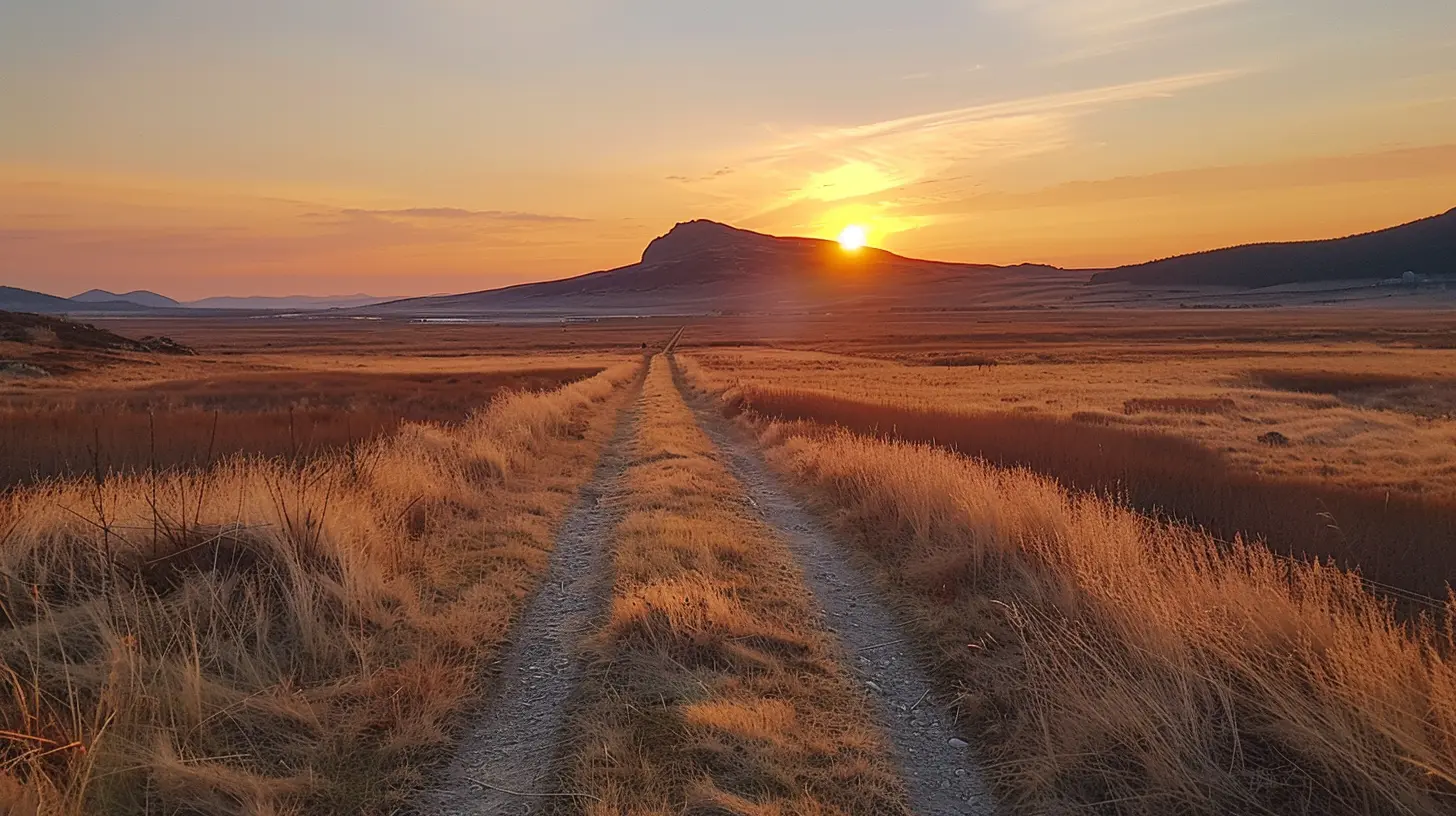
Why is Golden Hour So Special for Travel Photography?
You might wonder, "Can't I just snap photos at any time of day?" Sure, you definitely can, but something about the golden hour adds a sprinkle of magic to your shots. Still not convinced? Here’s why the golden hour is a game-changer, especially for travel photography.1. Soft Light, Softer Shadows
The sun's position is lower during golden hour, creating softer shadows. This means you won’t get those harsh, unflattering shadows that can ruin a photo. Think of it as nature's built-in filter!2. Warm Tones
The warm tones from sunlight during the golden hour make everything look more vibrant and alive—whether it's a portrait of a local you just met in a quaint marketplace or a picturesque landscape of a place you’ve always wanted to explore. The natural glow adds a golden warmth, making colors pop in the most flattering way.3. Enhanced Textures
The low, angled sunlight emphasizes textures like never before. Hills, mountain ranges, waves, architectural details—everything seems to stand out more. You won’t just capture a place; you’ll make it come alive in your photo.4. Golden Hour is Universal
I'm sure you’ve been on trips when the weather or lighting conditions didn’t cooperate. The beauty of golden hour is that it works well almost anywhere, from bustling urban settings to quiet rural landscapes. You can be in a busy city street or a deserted beach—golden hour makes it all look fantastic.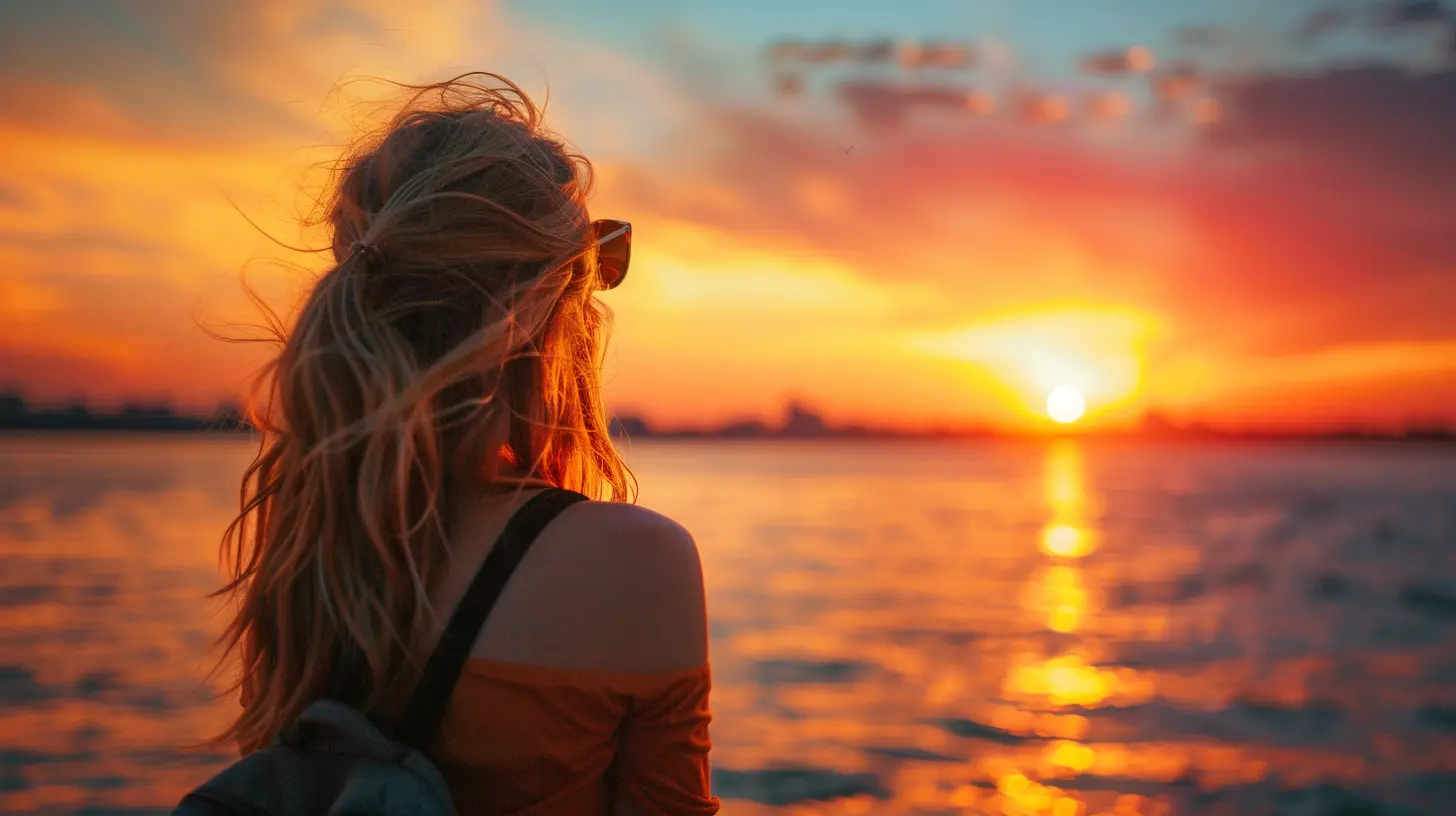
How to Capture the Magic of Golden Hour While Traveling
Now that you’re pumped to start taking your golden hour photos, let’s go over some tips and tricks to ensure you get the most out of this fleeting yet magnificent time.1. Plan, Plan, and Then Plan Some More
Golden hour can be fickle—it doesn’t last very long, typically around 60 minutes at most, and sometimes even less at certain latitudes. So, preparation is key. You don’t want to scramble to find the perfect shot when time is ticking, right?- Scout Your Location in Advance: Whether you're hiking up a mountain or walking through a vibrant city, check out the area beforehand. Know where the sun will set or rise to position yourself for the best angles.
- Be Early: If you think you can arrive at your location five minutes before golden hour starts, think again. Arrive at least 30 to 45 minutes early to set up shots, estimate your angles, and experiment with different compositions.
- Use Golden Hour Apps: Like I mentioned earlier, apps that predict golden hour times based on your location can be your best friend! Plan your outings around these prime times to ensure you're in the right place at the right time.
2. Choose the Right Gear
Hold on, don’t click away if you don’t have high-end gear! Trust me, amazing golden hour photos can be taken with almost any camera—even your smartphone. That said, here are a few tips about gear that can help you elevate those photos a notch.- Wide-Angle Lens (If You Have One): Golden hour light is incredible for both vast landscapes and intimate portraits. A wide-angle lens lets you capture more of the scene and the stunning sky as it transitions colors.
- Tripod: The light during golden hour fades quickly, especially as you approach the blue hour (just after golden hour). A tripod will help stabilize your shots in lower light conditions, especially if you're doing long exposures.
- Polarizing Filter: If you’re photographing landscapes, a polarizing filter can be effective in reducing glare and enhancing the contrast between the sky and the land.
3. Focus on Composition
Golden hour light is divine—but don’t rely solely on the light to make your photos stunning. You’ll still want to think about composition, framing, and your subject.- Rule of Thirds: This is a classic photography rule for a reason. Imagine breaking your photo up into a 3x3 grid. Position key elements of your photo along these grid lines or at their intersections for a balanced and engaging image.
- Foreground Elements: Use natural elements like trees, fences, or even people to add depth to your image. Having something interesting in the foreground draws the viewer’s eye into the scene.
- Silhouettes: Golden hour is the perfect time to play around with silhouettes. Position your subject against the glowing backdrop of the sun and let their outline contrast with the warm glow. It’s simple yet incredibly striking.
4. Experiment with Different Perspectives
Rather than sticking to one perspective, use golden hour as an opportunity to explore various angles and viewpoints. Sometimes crouching down or climbing up for a higher view can make all the difference.- Play with the Light Source: Position yourself so the sun is either behind you (for softer, well-lit photos) or create lens flares by letting the light directly enter the frame. Get creative!
- Backlighting: Objects and people can look unreal with backlighting during golden hour. This creates a soft halo effect around your subject, giving a dreamy and almost ethereal quality to the photo.
- Shoot into the Sun: As golden hour progresses, you can experiment by shooting directly into the sun. This creates dramatic lens flares and natural highlights that add an artistic flair to your shot.
5. Don’t Forget Post-Processing
Let’s be honest—sometimes even the best photos can use a little extra touch-up afterward, especially if the light fades faster than expected. After your golden hour shoot, don’t be shy about using some editing tools to enhance the magic.- Adjust Highlights and Shadows: One of the advantages of golden hour is the soft light, but you might find that a little tweaking of the highlights and shadows can bring out the details even more.
- Enhance Saturation: The golden tones can sometimes appear more muted in your image than they were in real life. Increasing the saturation a bit can help recapture the warm glow you saw in real-time.
- Try Presets or Filters: There are tons of free apps and presets (like on Lightroom) tailored specifically for golden hour photos that enhance the natural warmth of your shot. Just don’t overdo it—subtlety is key.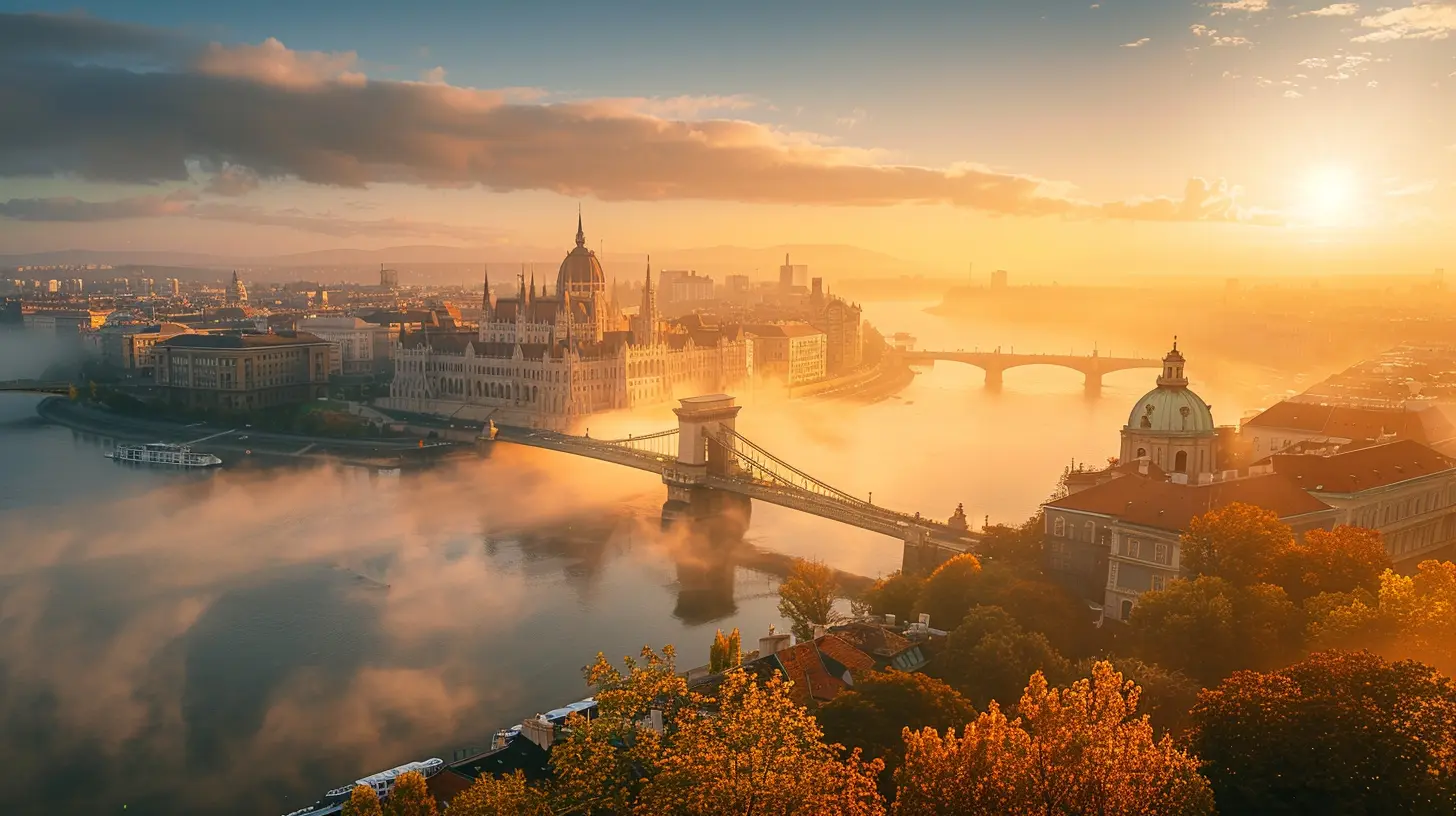
Common Mistakes to Avoid
Golden hour might be a photographer's dream, but there are still a few common mistakes that can turn an awesome opportunity into a missed one. Here's what to watch out for:1. Not Arriving Early
Golden hour is short, like really short. By the time you’ve found your spot and set up, you could already be halfway through it. Always arrive early to give yourself ample time.2. Not Paying Attention to Your Settings
If you're using a DSLR or mirrorless camera, avoid using auto settings. The camera might not always pick the best exposure for the soft light during golden hour. Instead, work in manual mode to control your ISO, aperture, and shutter speed.3. Forgetting About Your Subject
The light might be dreamy, but remember, what you're photographing matters just as much as how. Ensure your subject is clear, and avoid unnecessary clutter in the frame.
A Magical Moment in Every Destination
Capturing the magic of golden hour while traveling is all about preparation, creativity, and a sense of adventure. Whether you're in a bustling city or a remote natural landscape, this short window of time is your chance to create breathtaking, Instagram-worthy images that tell the unique story of your travels.So, the next time you pack your bags and head out on an adventure, don't forget to plan your golden hour shots. Once you score that perfect blend of soft light, warm hues, and a compelling subject, you'll understand why photographers chase this moment all around the world.



Izaak McDowell
This article beautifully highlights the importance of the golden hour for travel photography. The tips provided are practical and achievable, making it easier for travelers to enhance their photos. Just remember to scout locations ahead of time to maximize this fleeting, magical light!
April 2, 2025 at 4:46 AM